Learn how to verify your email sending domain to improve email deliverability and security.
Go to getbrokerkit.com
1. Introduction
This step-by-step guide walks you through adding necessary DNS records to your domain registrar for successful domain authentication.
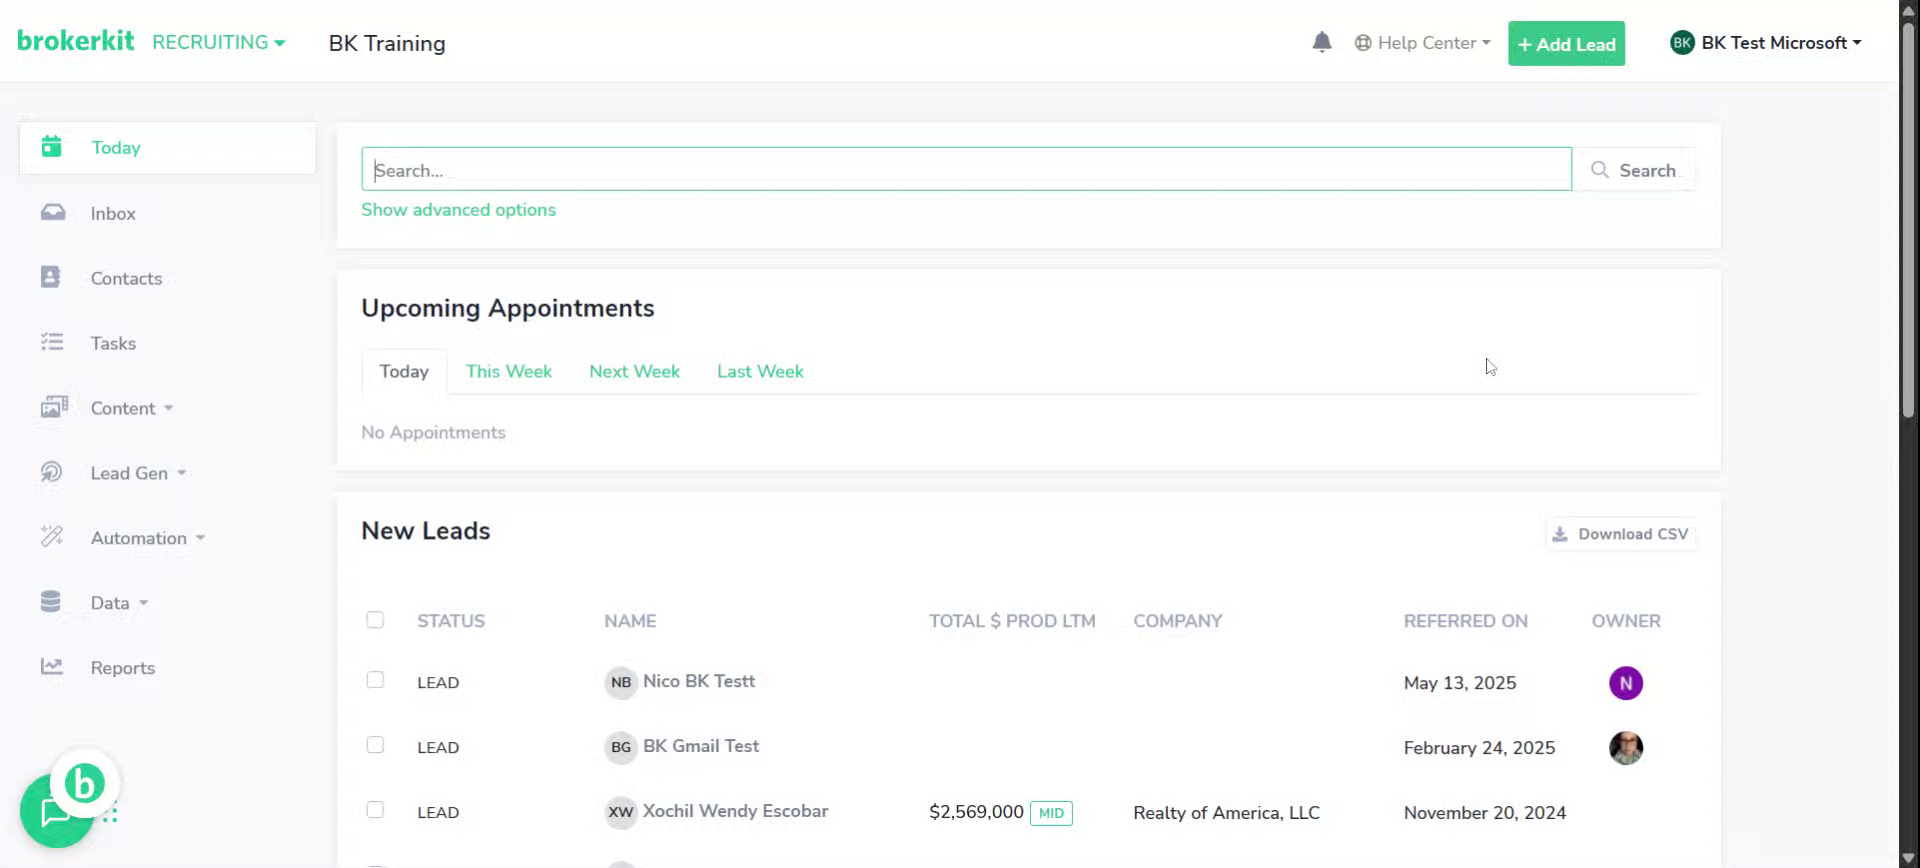
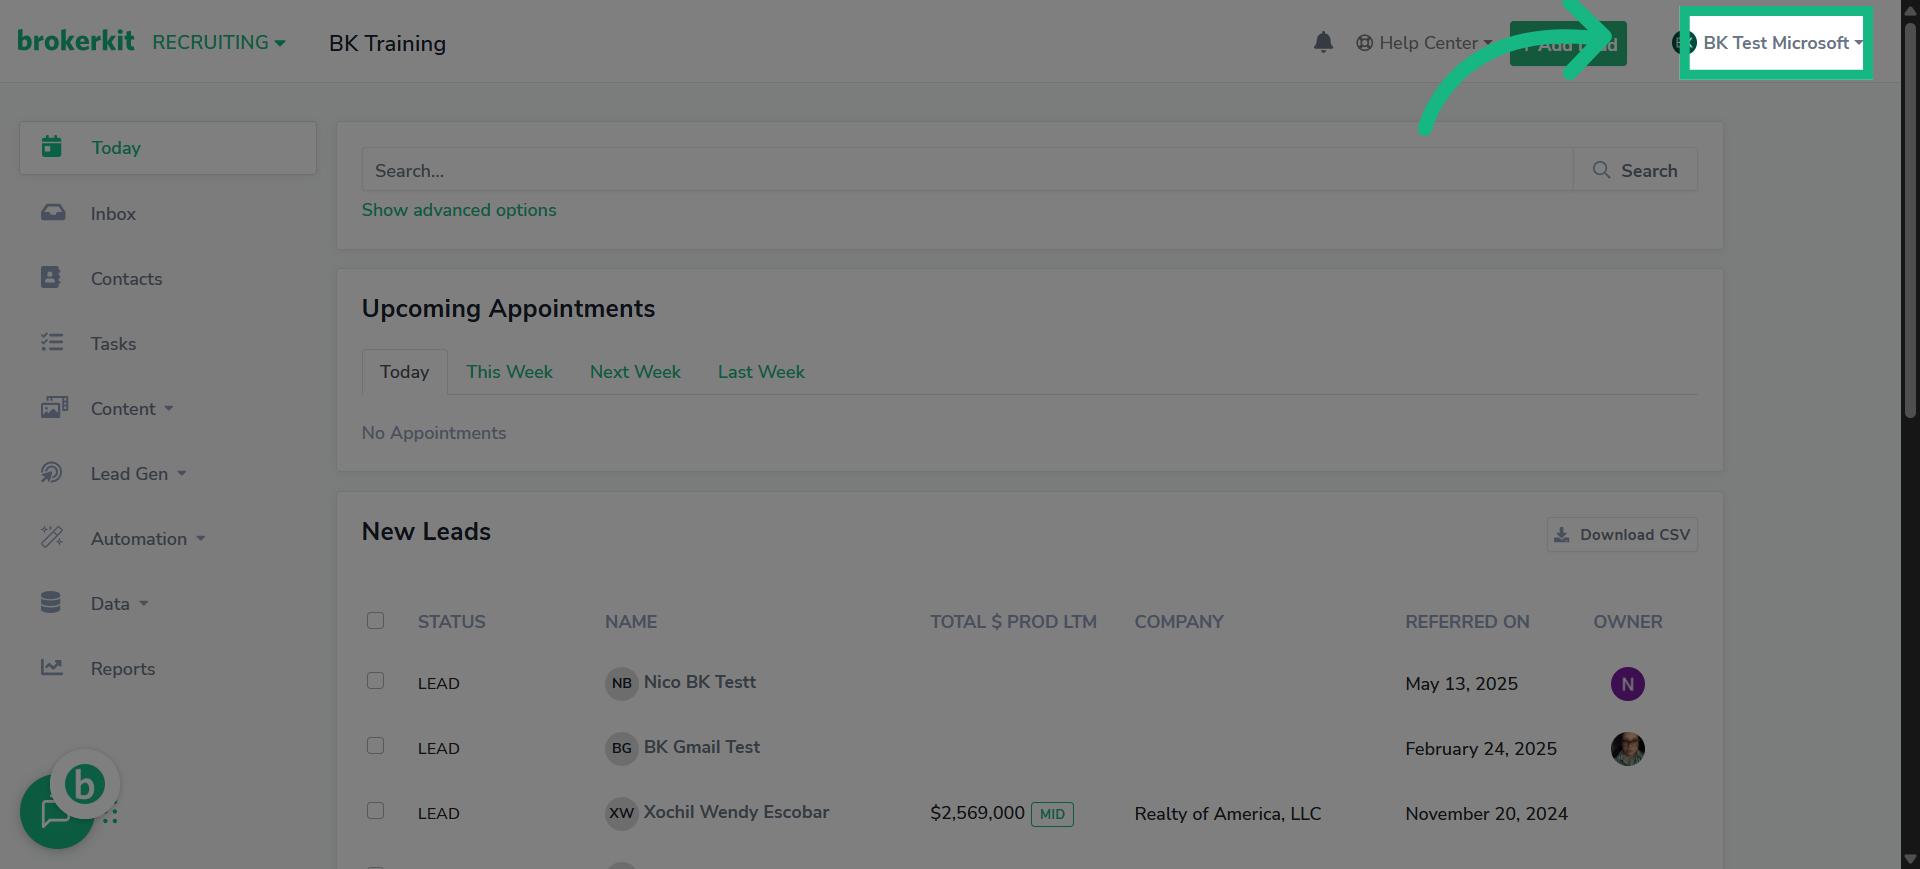
2. Go To Your Brokerkit account
Access your Brokerkit dashboard and select your desired account to begin domain verification.
3. Click "Account Settings"
Navigate to the Account Settings section to manage your email configurations.

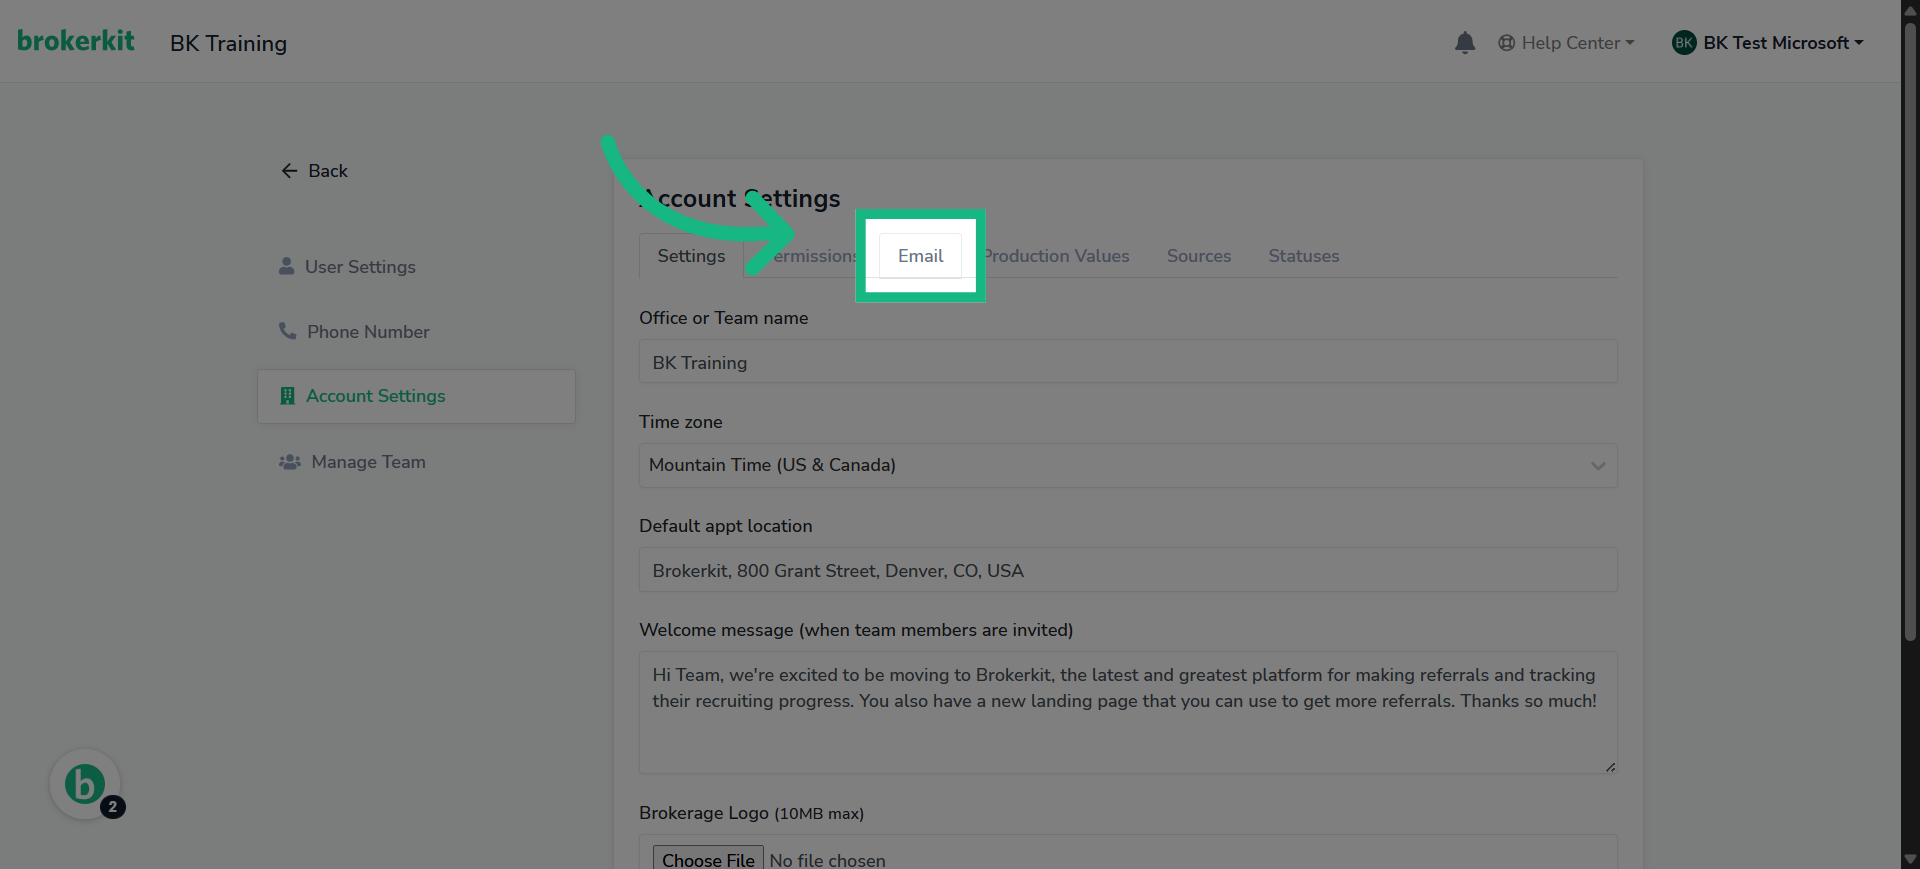
4. Click "Email"
Open the Email tab to access domain sending options.
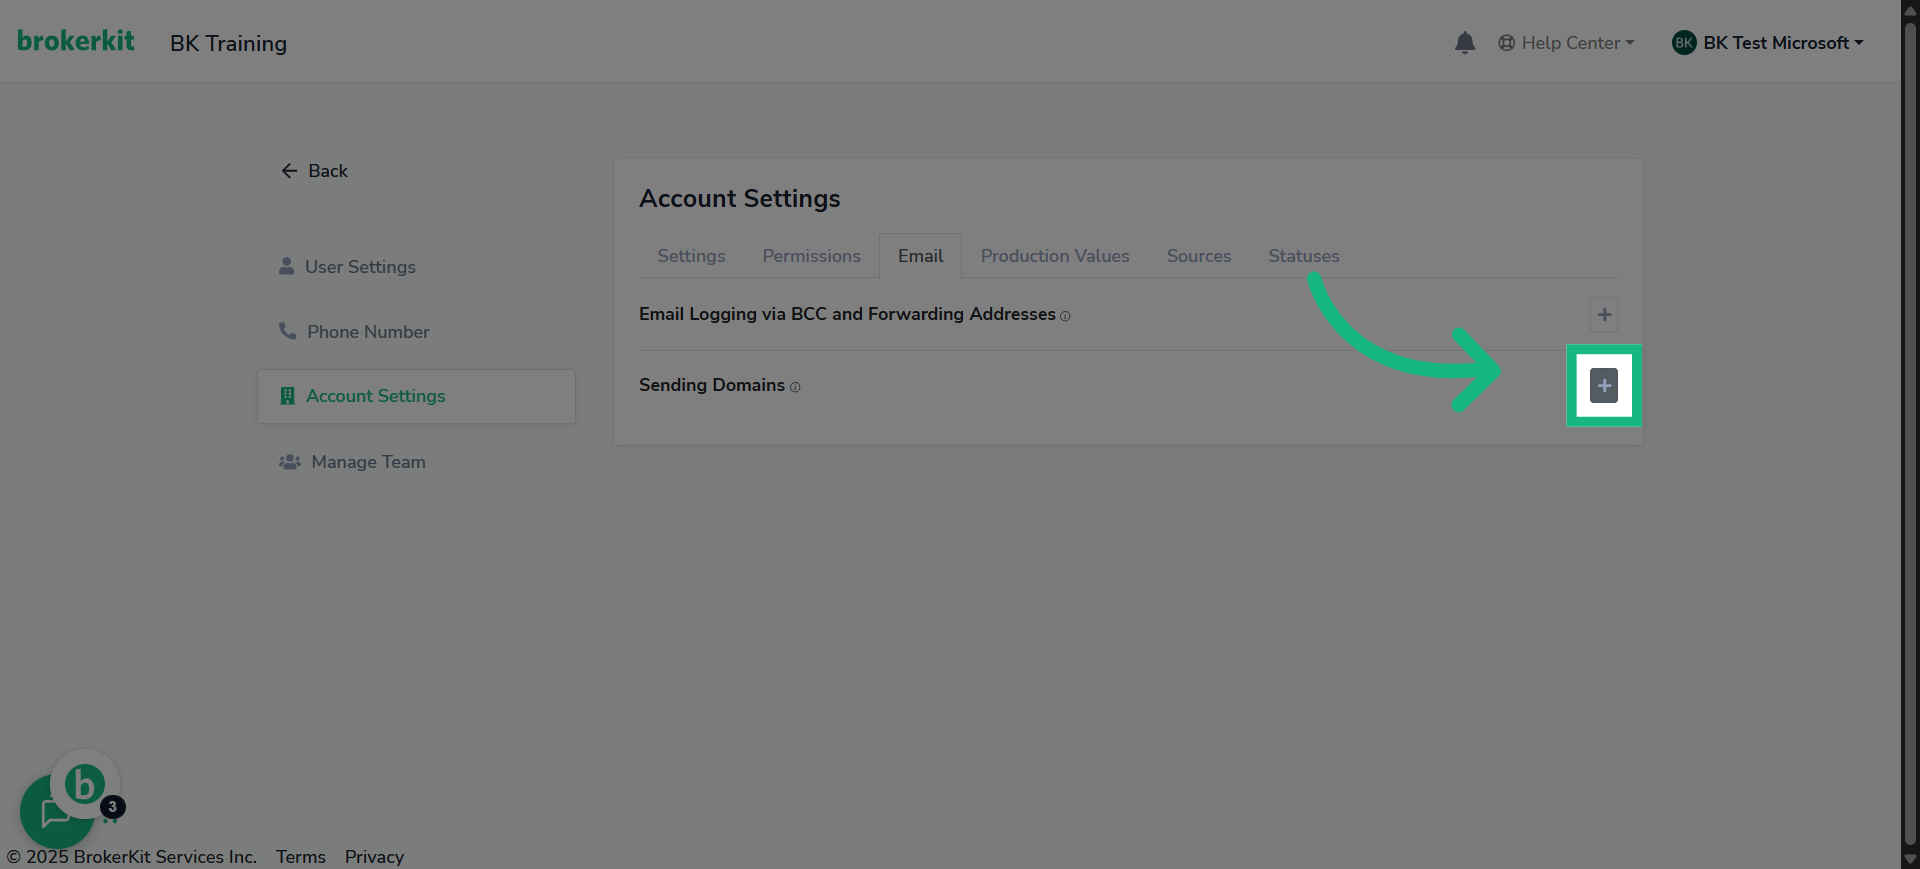
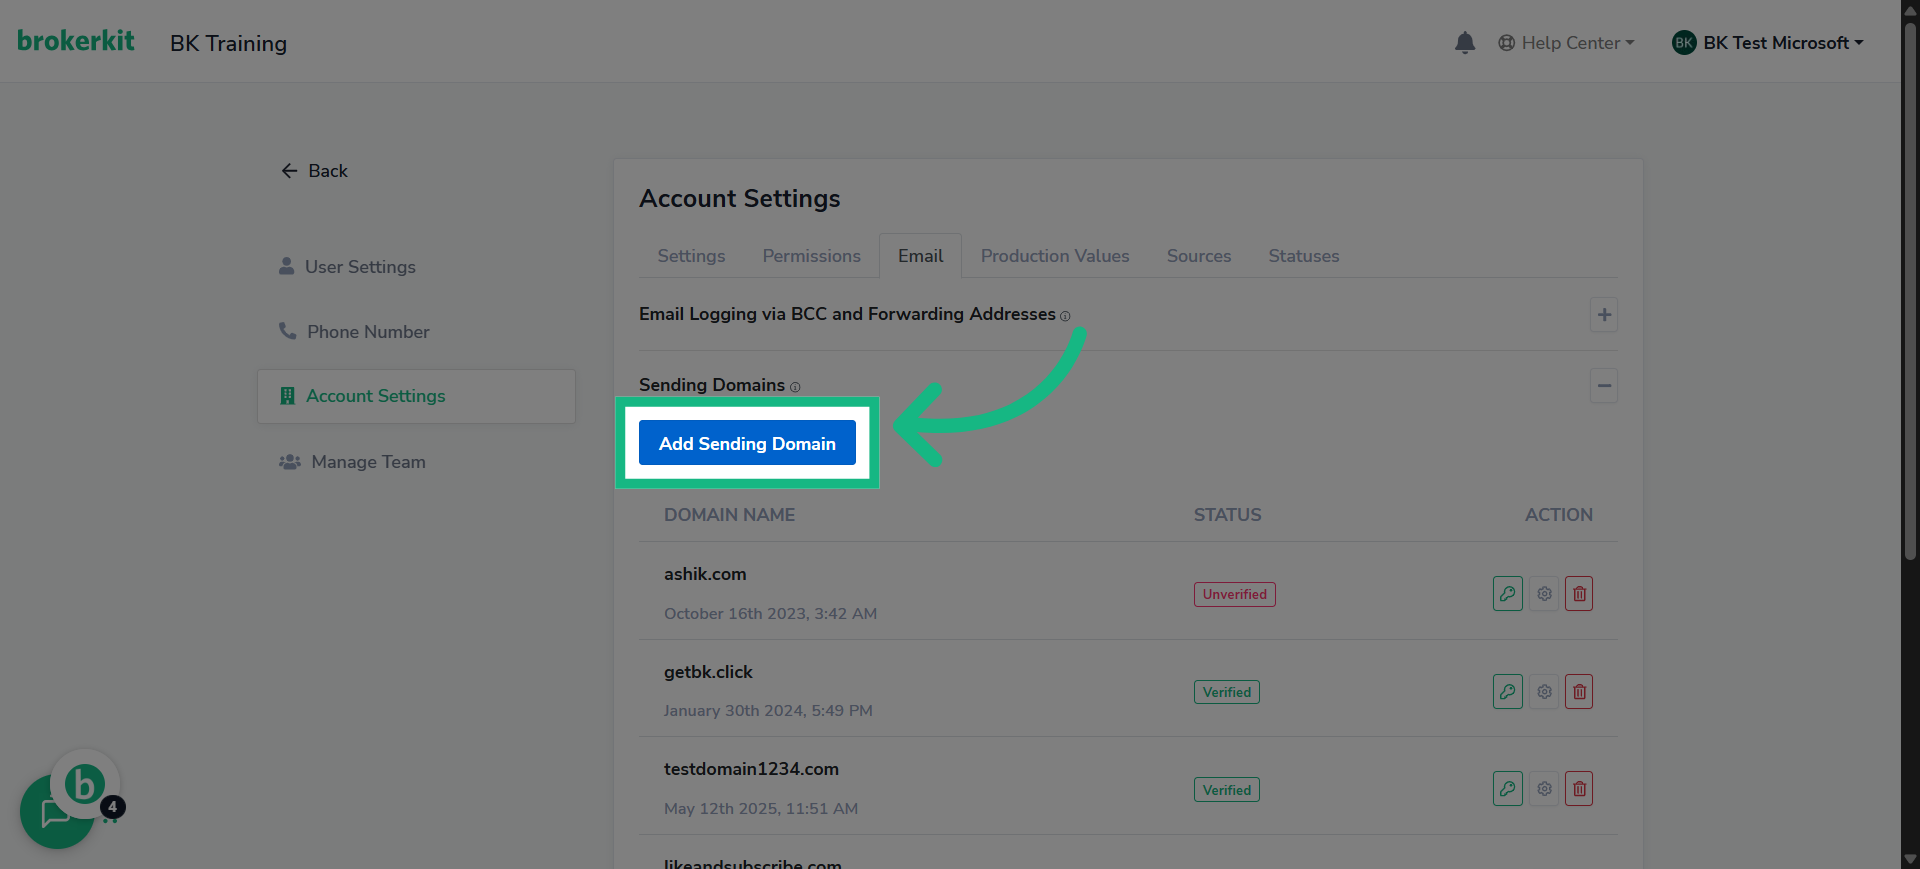
5. Click here
Initiate the process to add a new sending domain for your emails.
6. Click "Add Sending Domain"
Go ahead and click "Add Sending Domain" to tell BrokerKit you're setting up a new one.
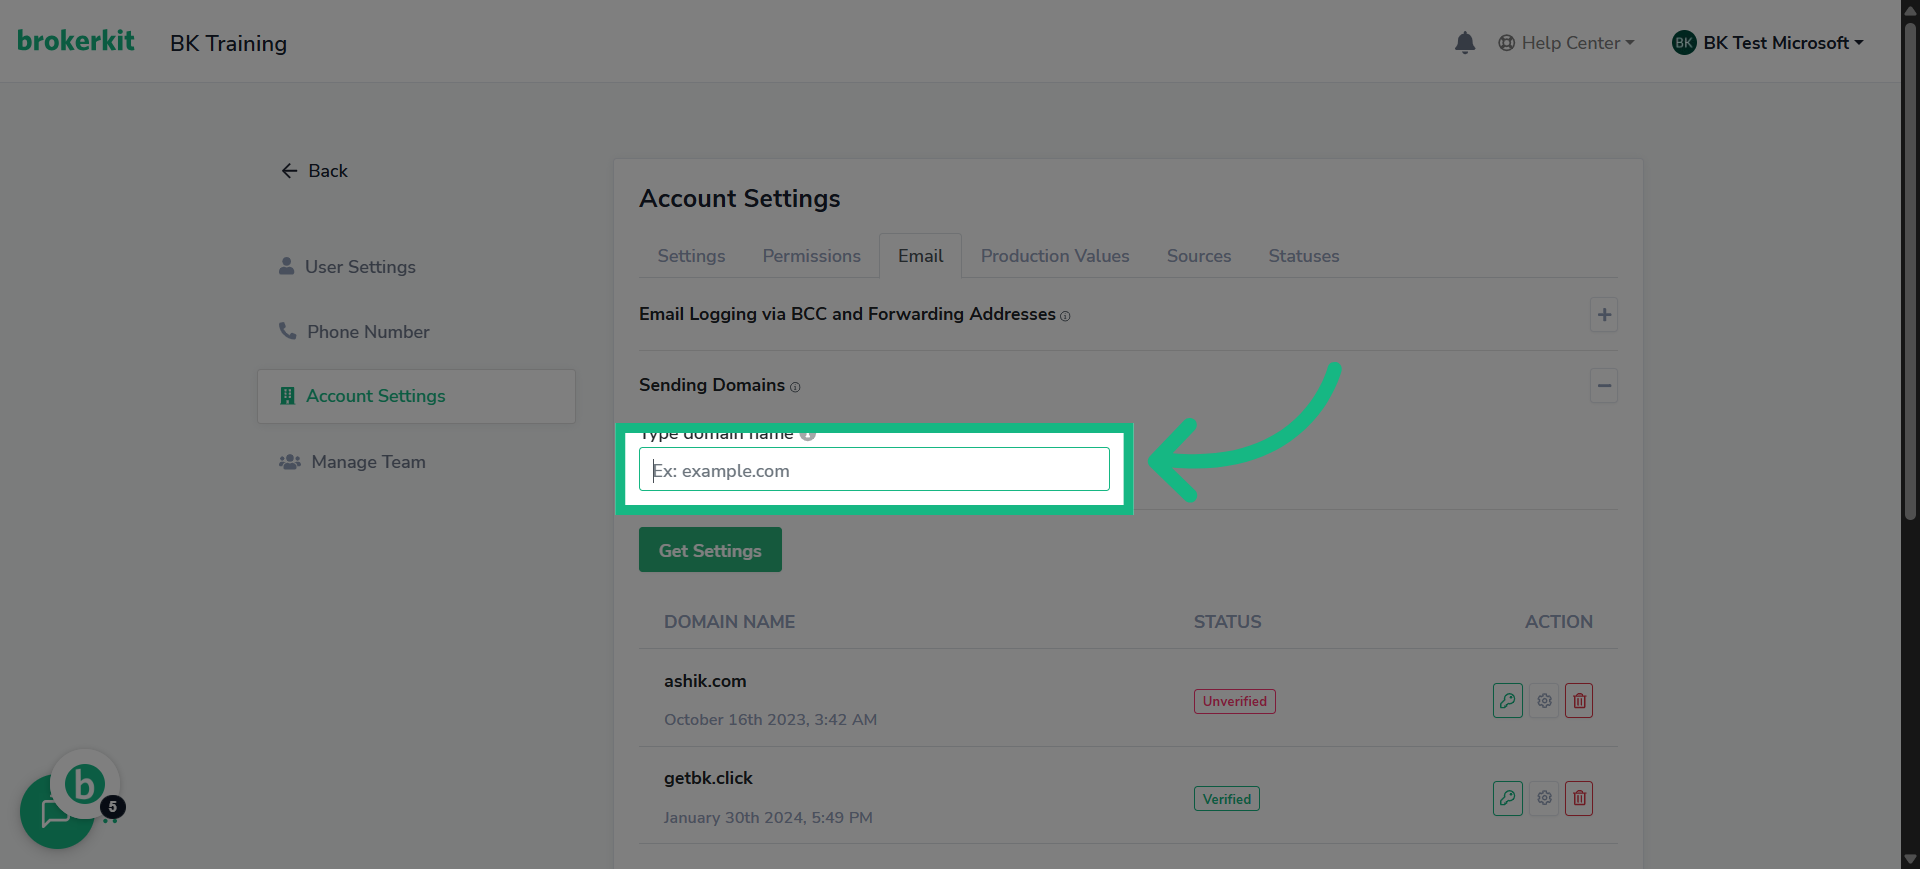
7. Click "Type domain name"
Enter the domain name you wish to verify for sending emails.
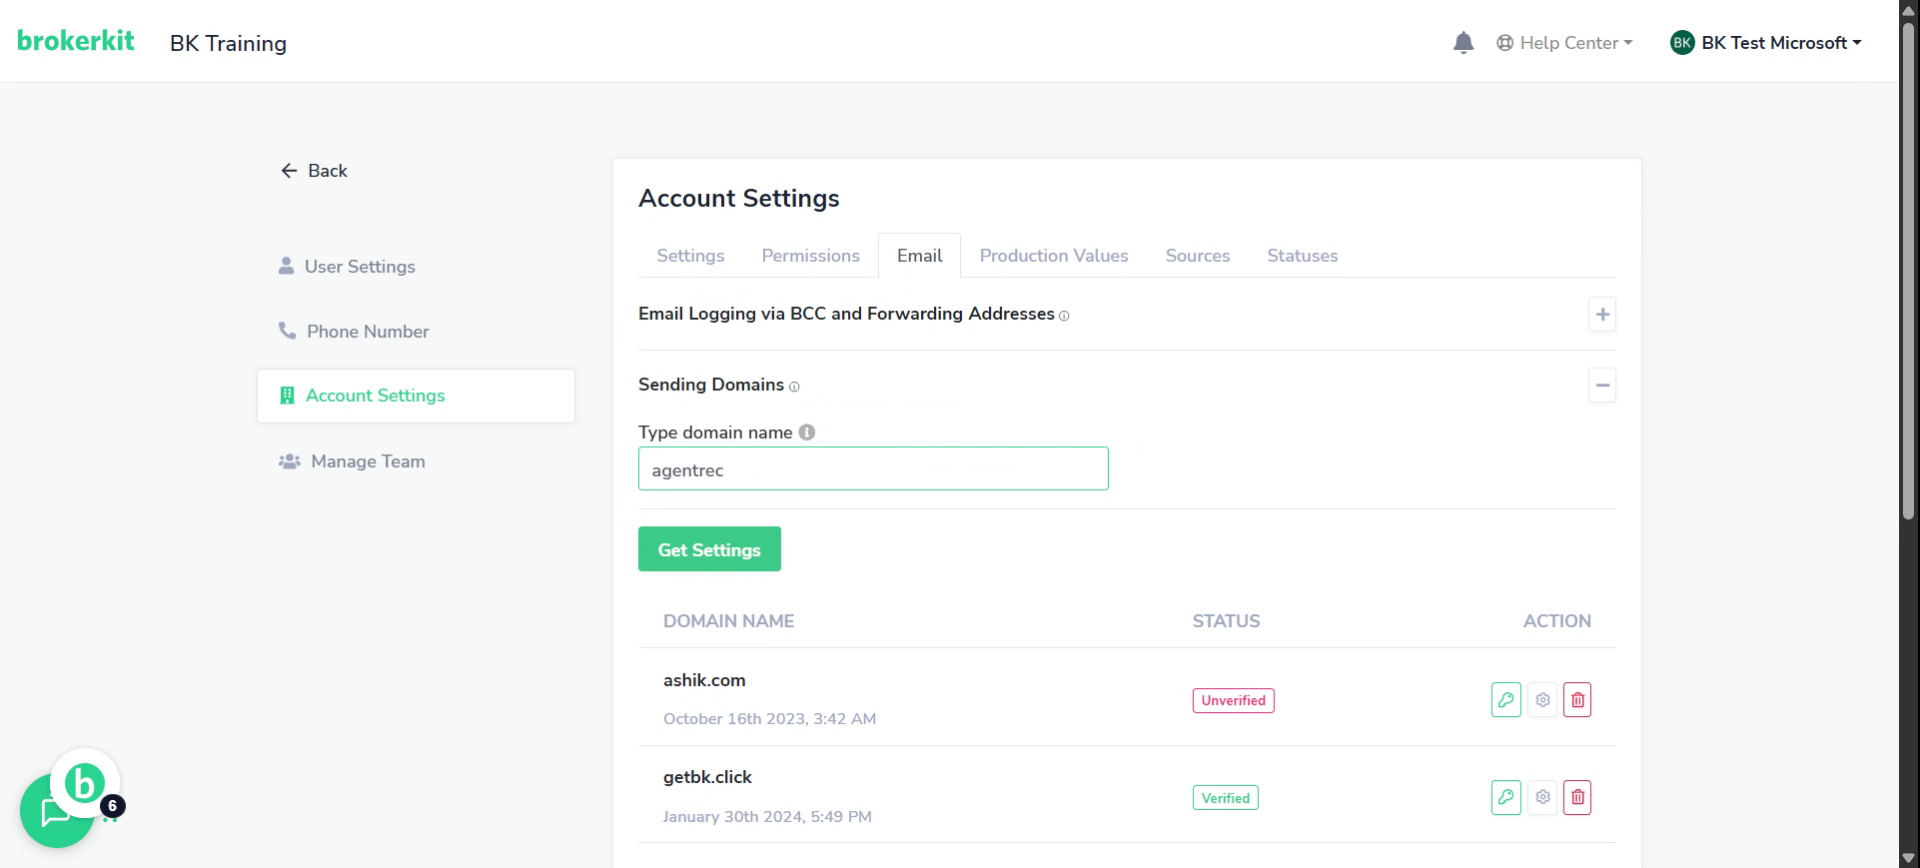
8. Fill with your email domain
Input your specific domain name to proceed with verification.
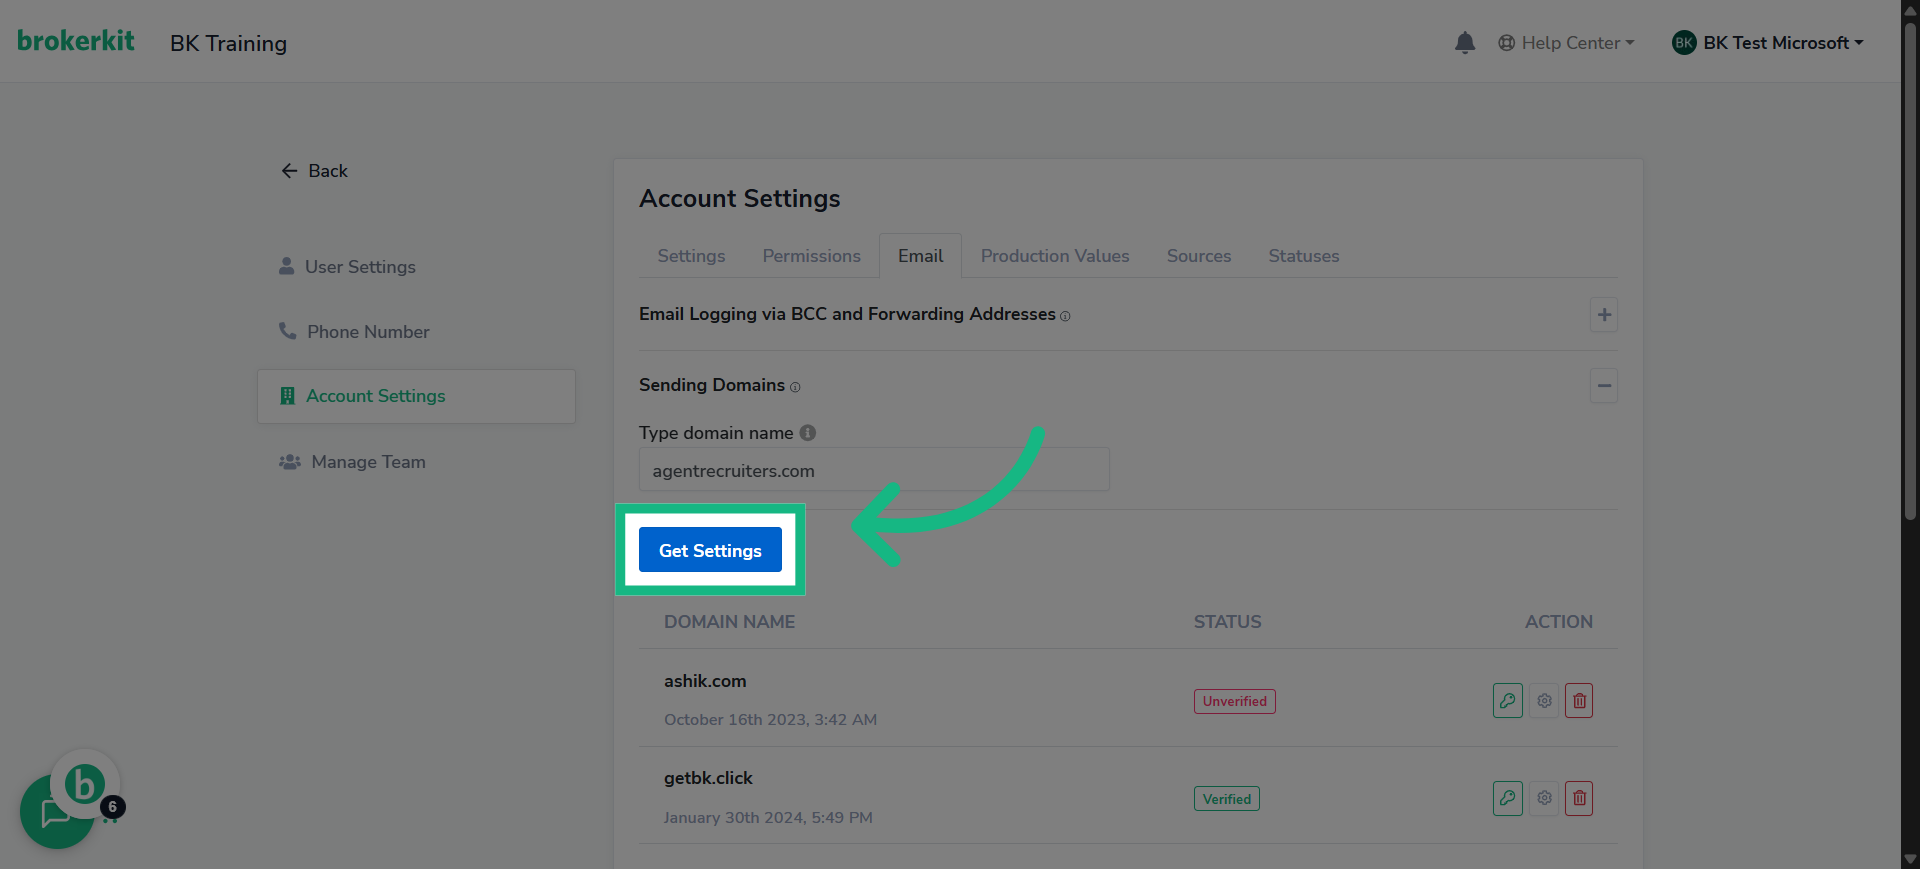
9. Click "Get Settings"
once that's done click get settings
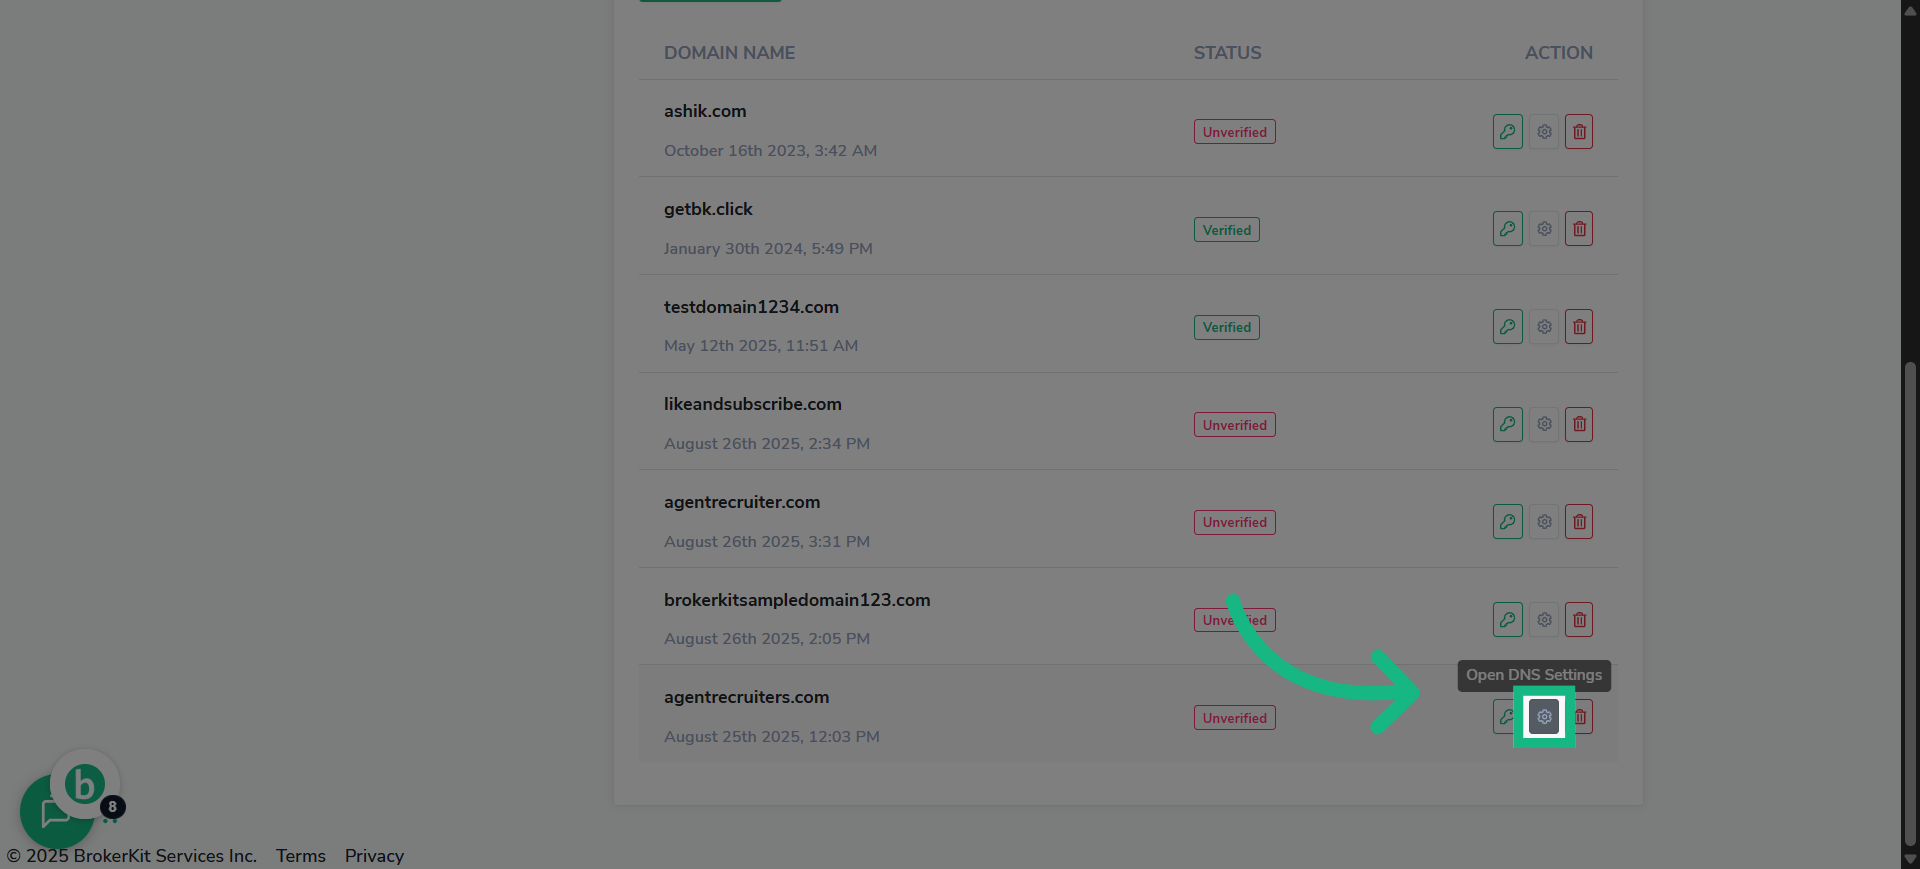
10. Click here
or if you wish to verify an email domain that already exist click this gear
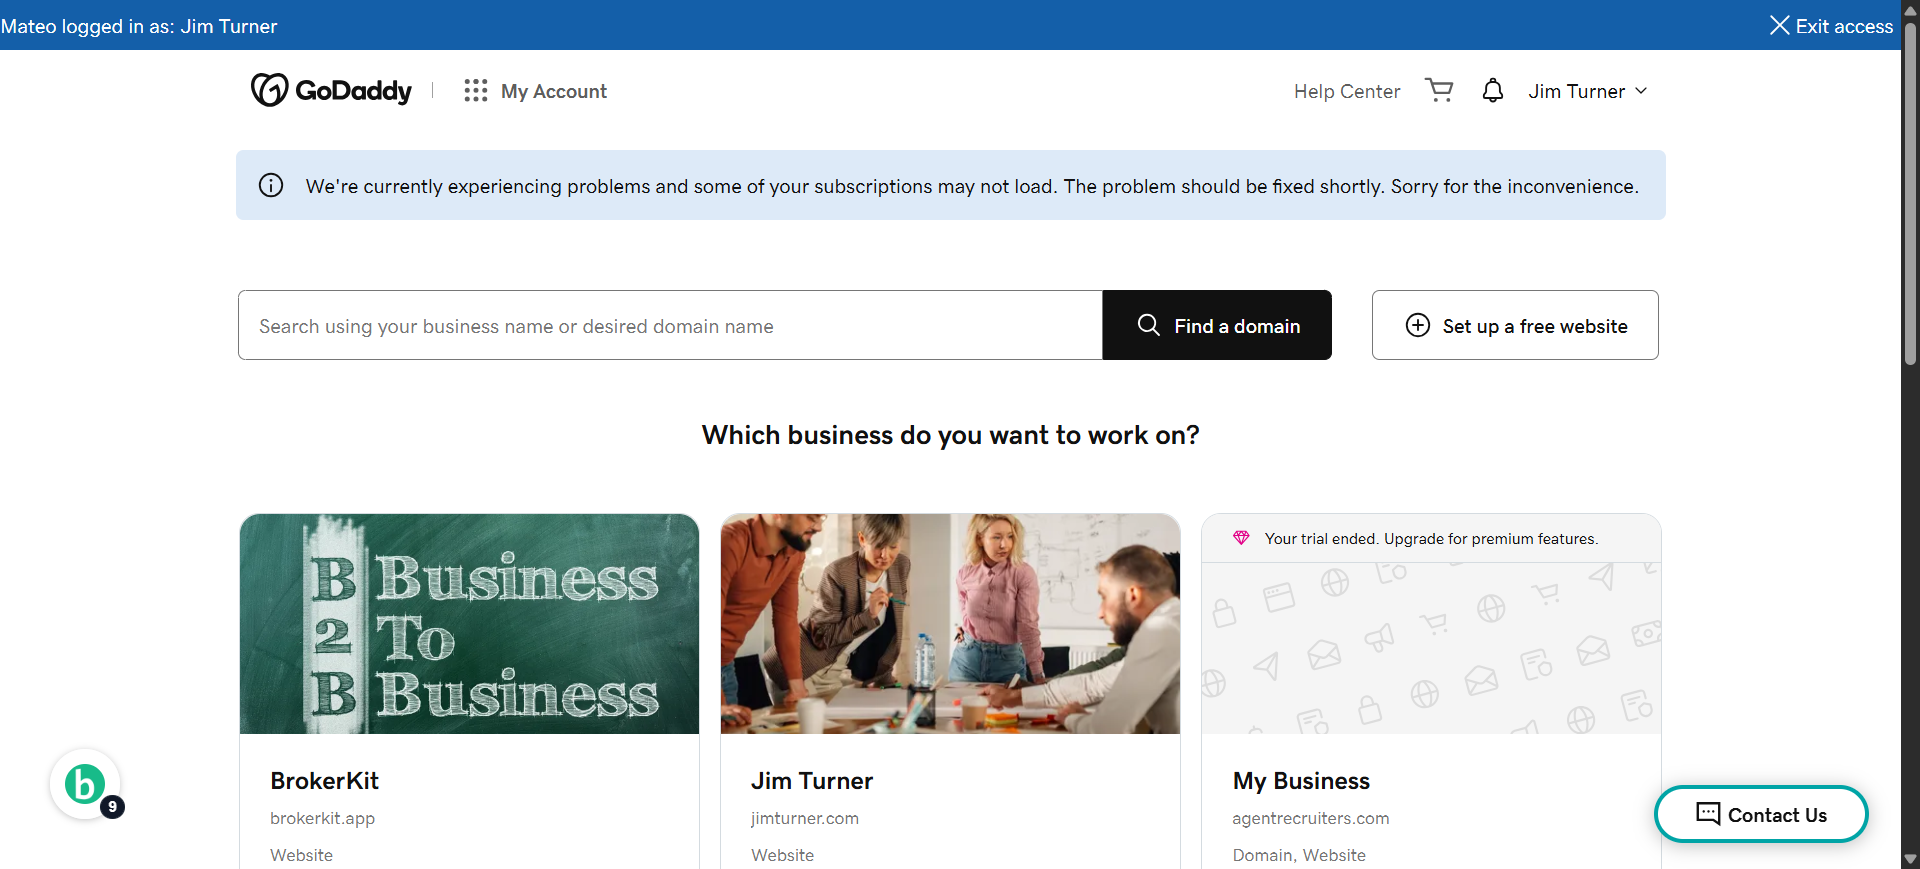
11. Switch to your godaddy account
Switch to your godaddy account, Open a new tab for this!
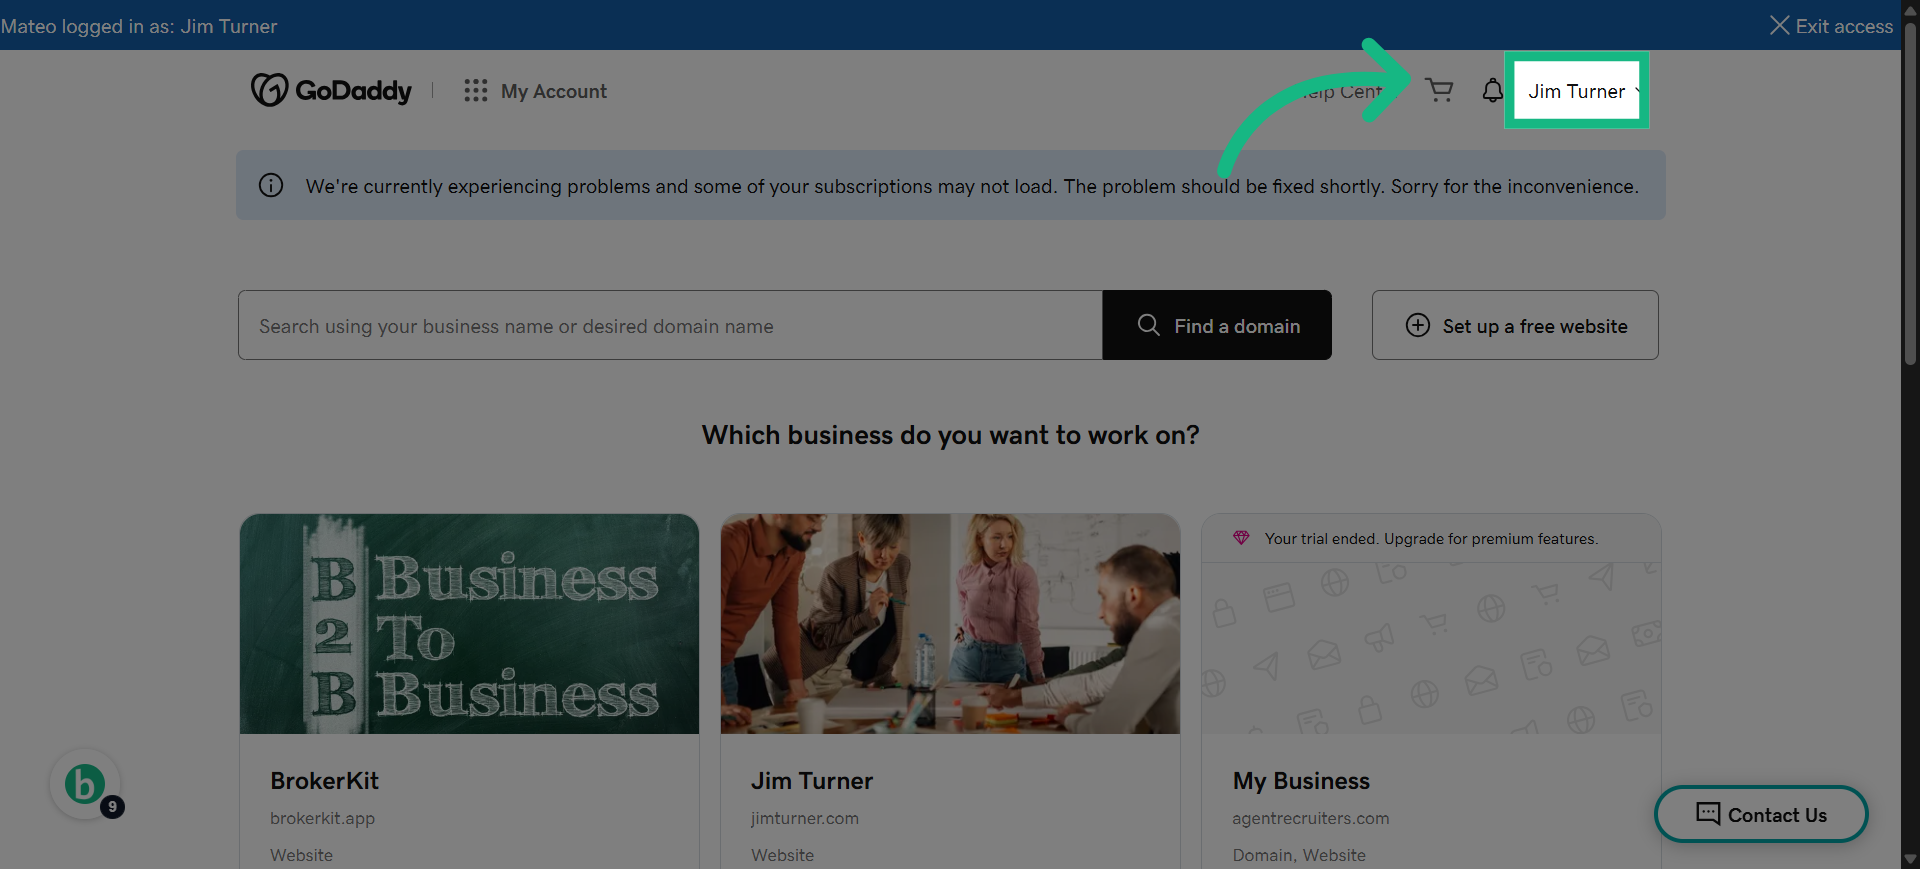
12. Click on your name
Click On Your name at the top right corner
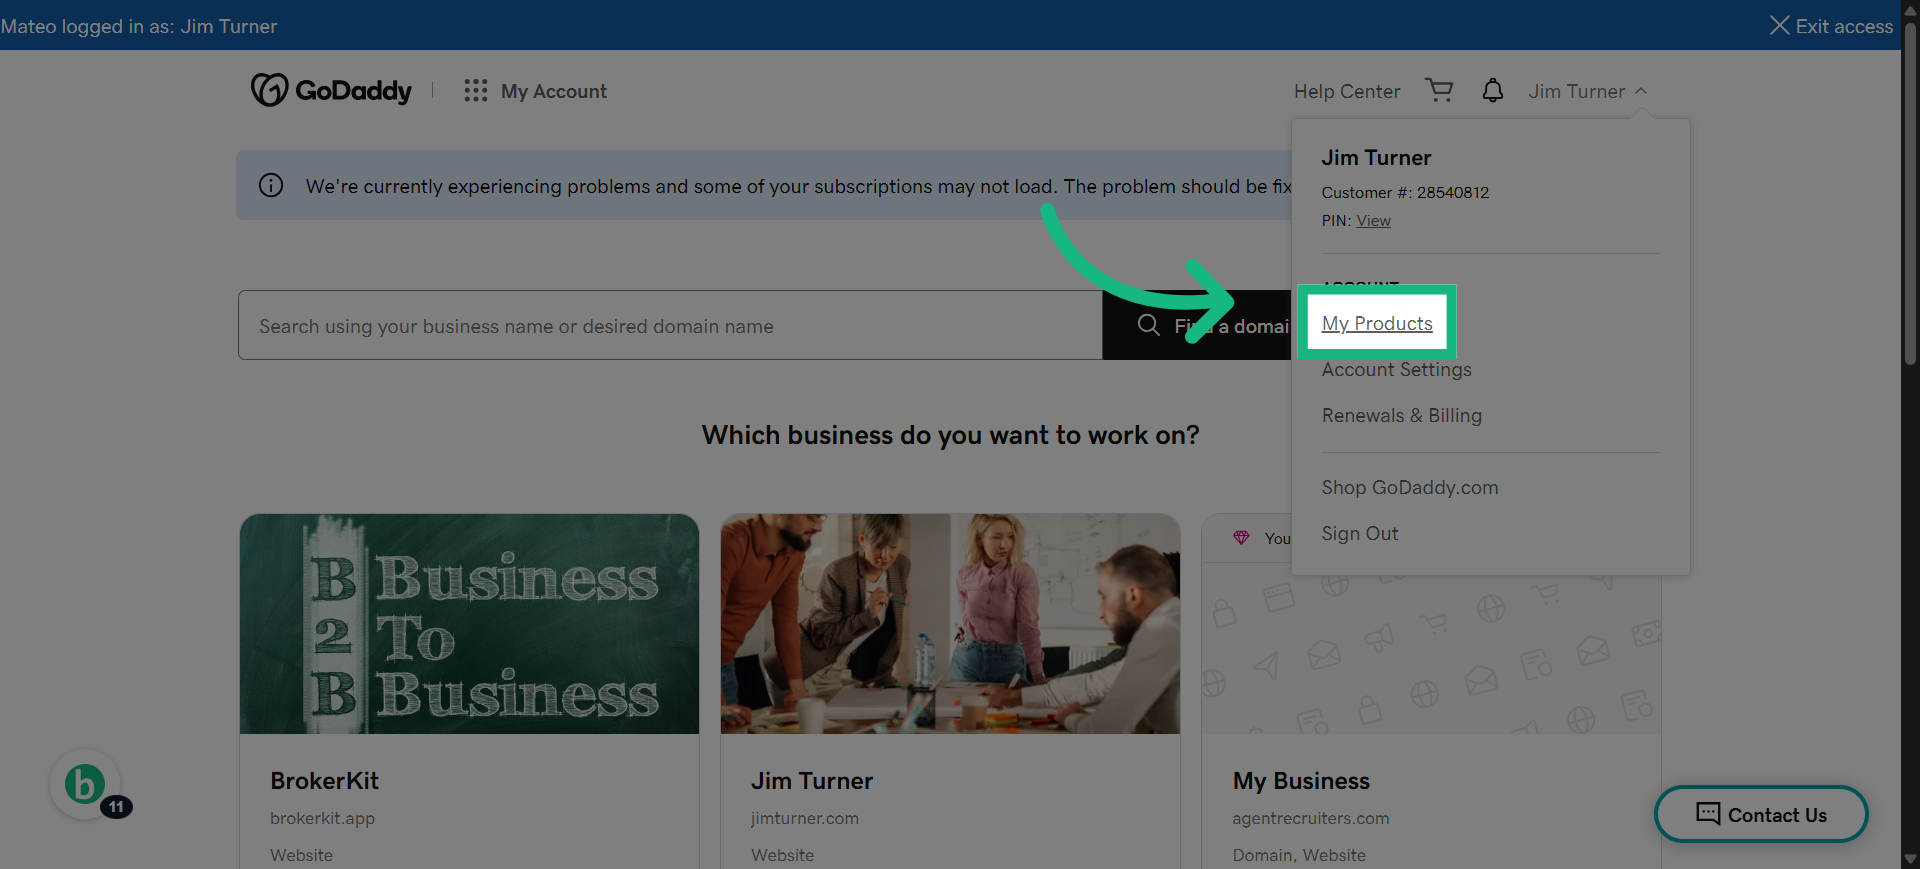
13. Click "My Products"
Go To My products
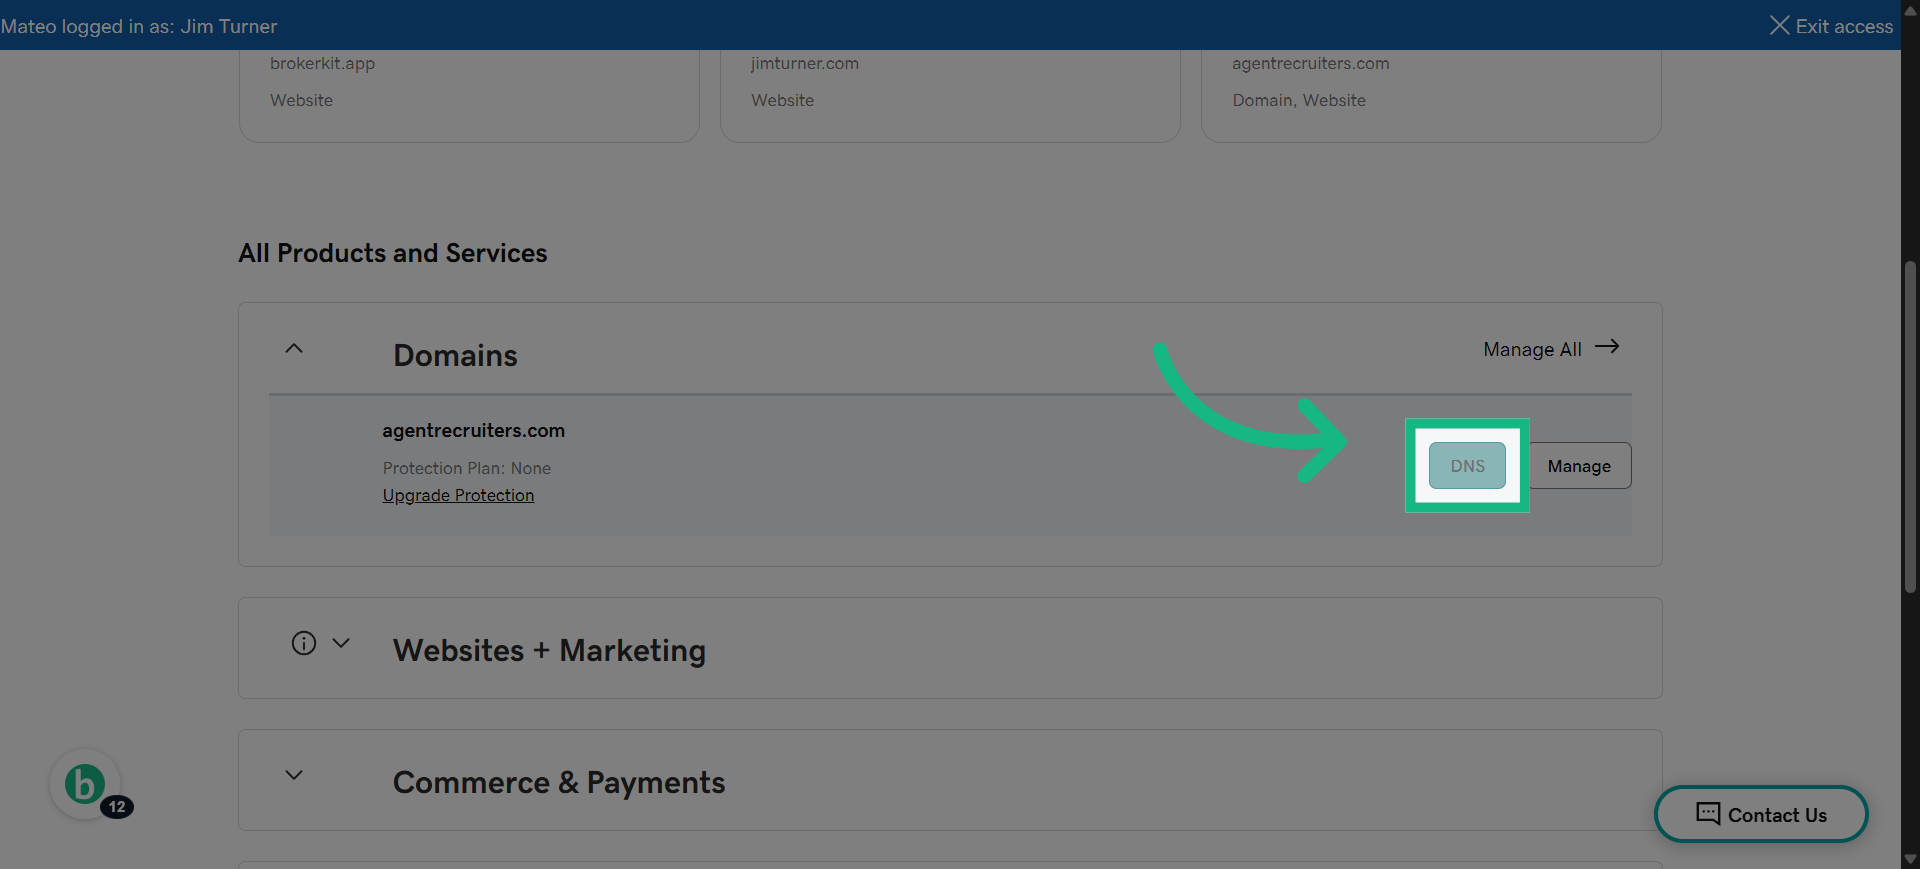
14. Click "DNS"
Select the DNS management option for your domain.
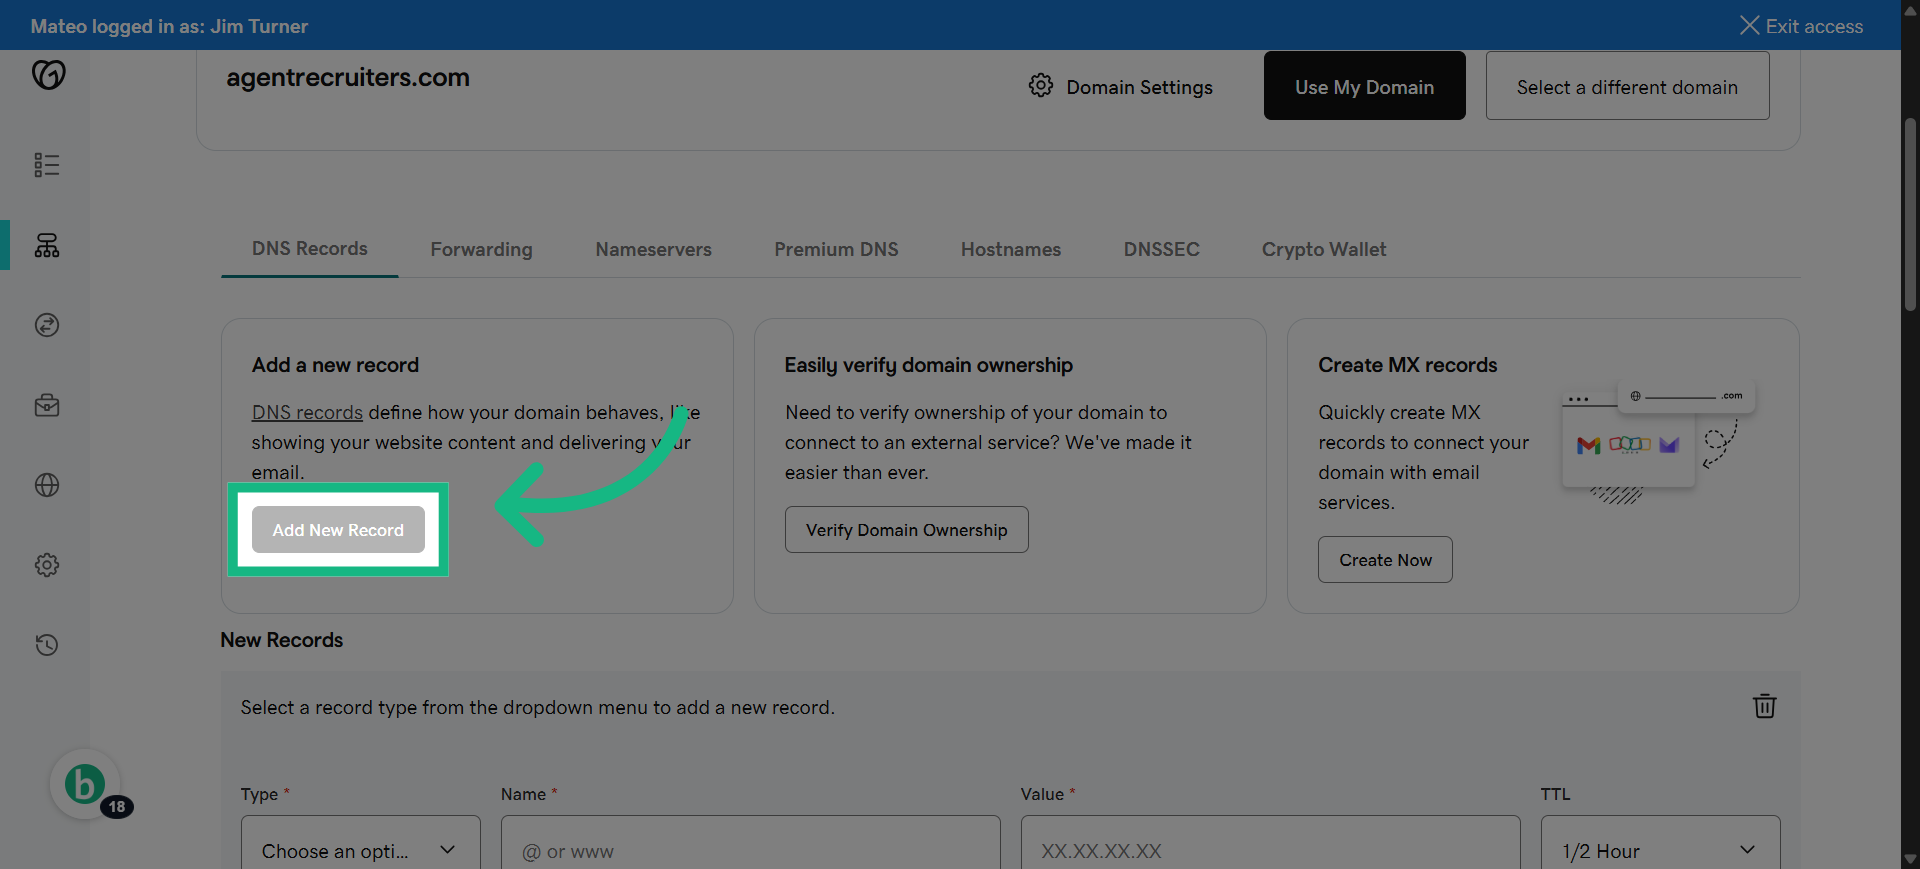
15. Click "Add New Record"
Start adding a new DNS record to authenticate your domain.
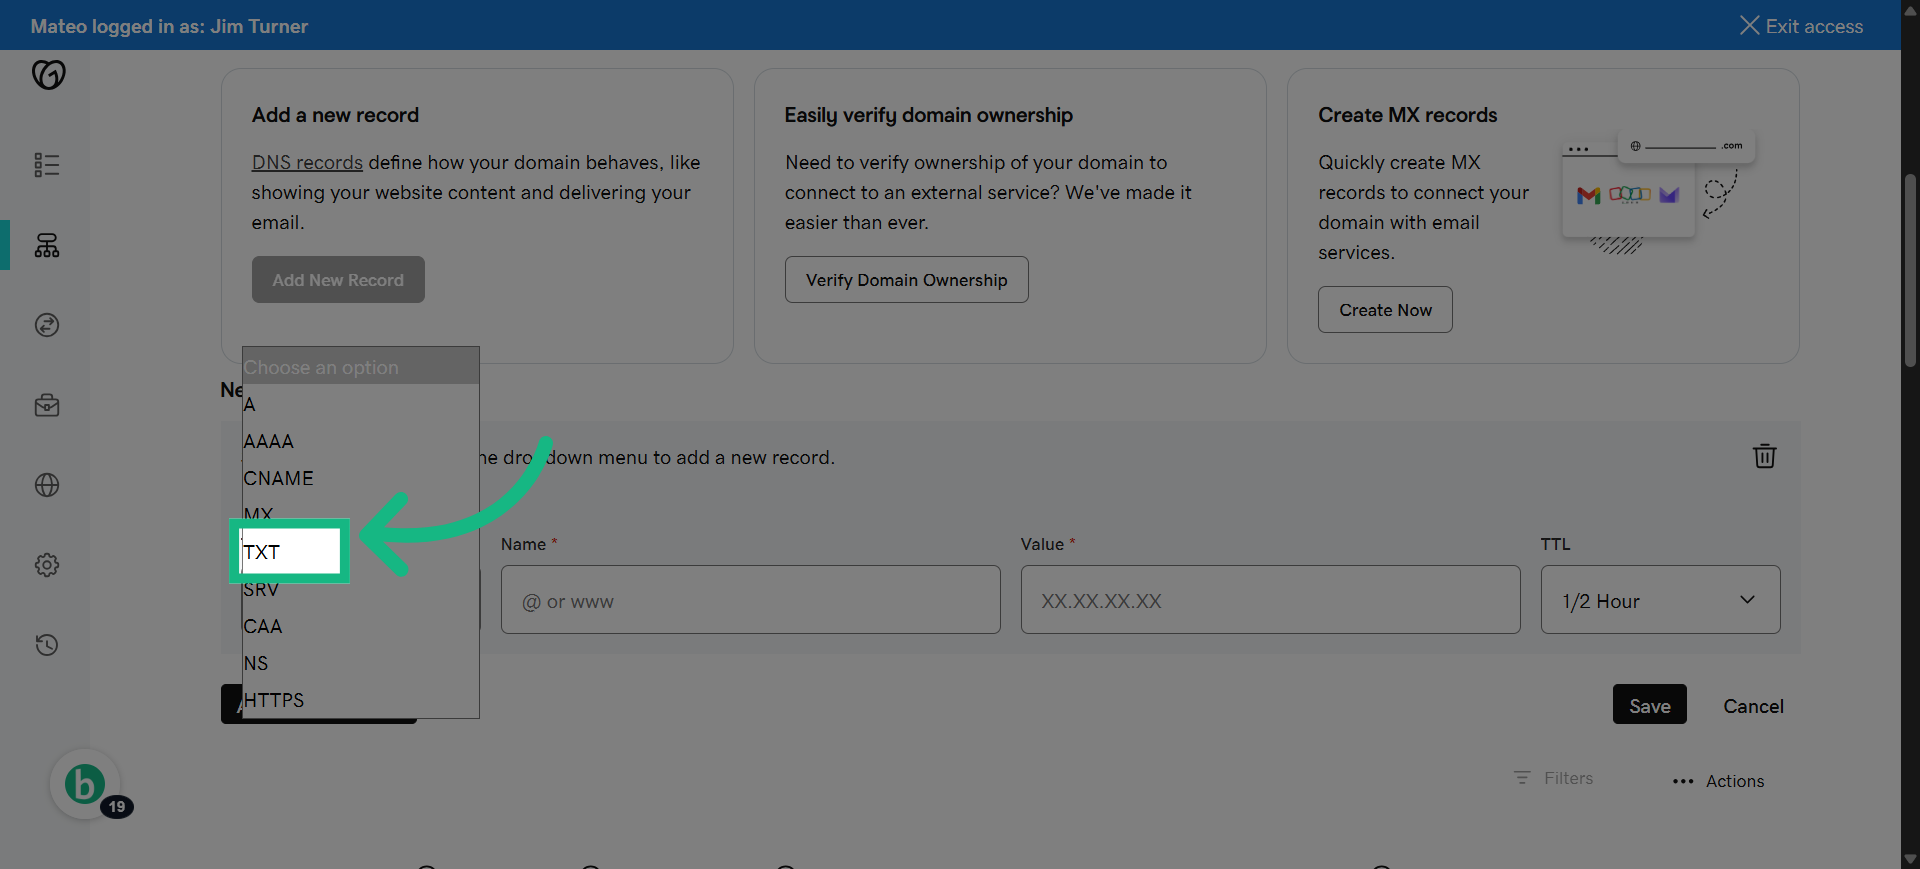
16. Select TXT
Select the type of DNS record you need to add for verification.
17. Switch to brokerkit
Return to Brokerkit to copy the specific DNS record value.
![Switch to brokerkit](https://static.guidde.com/v0/qg%2FIcEZxdt27zON
How can I check whether my sending domain is verified?
In Brokerkit, click your name in the top right corner, go to Account Settings > Email, and open the Sending Domains section. The table shows each sending domain and its current status.
If you recently changed DNS records, click the verification action for that domain after your DNS provider has had time to publish the records. If the domain still does not verify, contact Brokerkit Support with the domain name and a screenshot of the DNS records from your domain provider.
Who needs access to make DNS changes?
The person making the changes needs access to the domain's DNS provider, such as GoDaddy, Cloudflare, Enom, or another registrar/hosting provider. This may be the broker, owner, office admin, marketing team, or IT provider who manages the website or email domain.
If you are not sure who has DNS access, ask the person who purchased or manages the domain, your website provider, or your IT team. Brokerkit can provide the DNS records you need, but someone with DNS provider access must add or update those records.